


About CircleCI 📖
CircleCI, a continuous integration, and delivery platform that help teams to rapidly release, test, build and deploy their code.
CircleCI helps increase the speed ⚡ of development while ensuring the quality of the code.
With many developers 🧑💻 working on the same code, all the changes committed to the code are taken to the CI server 🗄️ for automated test and build.
The automated 🤖 tests and builds provides rapid feedback 🦾, that will help developers in case of any failure.

- Setting up CI/CD for your project can be very helpful when it comes to collaboration.
- It can really help you bring more features, bug fixes, or any sort of changes to your projects in a more reliable way, so your software works perfectly 💯.
Find problems and solve them quickly. Release higher quality, more stable products.
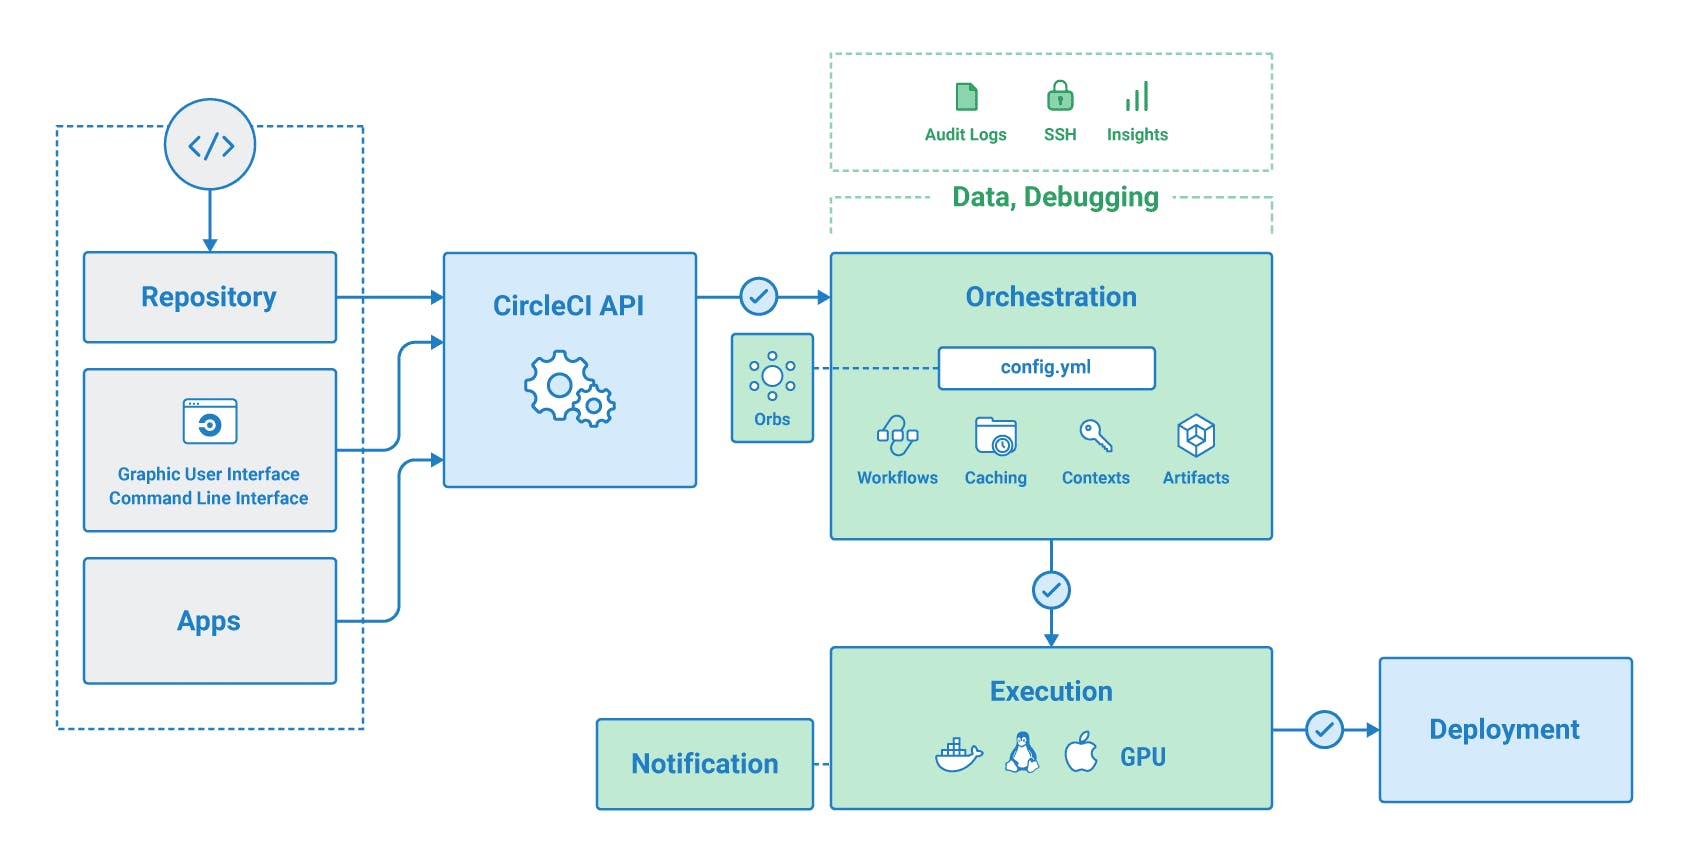
How it works 🤔
Getting Started with CircleCI 🚀
We will be using this project Kubesimplify-CircleCI-Demo. It's a basic Node-Express app, it contains a simple test that we will use in our CI, other than testing we will also do a linting check. In the end, we will deploy the app to the AWS S3 bucket.
Set up the project 📂
CircleCI supports GitHub and Bitbucket, we will be using GitHub.
- First, we will set up the project on GitHub.
- You can use your own project, or you can fork this demo repository Kubesimplify-CircleCI-Demo for learning.
- To use CircleCI in a project, we need to have a
.circlecifolder in our project and aconfig.ymlfile inside it (The config file already exists in our demo project).
Writing the Config file 📜
Let's start writing the config file.
In the first line, we will specify the version of CircleCI, v2.1 is mostly supported by all the CircleCI orbs and images.
version: 2.1
- In the next line, we will specify orbs.
- Orbs are reusable package of YAML configuration that condenses repeated pieces of config into a single line of code.
Orbs help to write a config file for CircleCI faster. You can find all the public orbs here.
We are going to be using two orbs, one for Node.js and another for AWS CLI.
orbs:
  node: circleci/node@5.0.2
  aws-cli: circleci/aws-cli@3.1.0
After that, we are going to start writing the jobs.
- Our first job will be
build_lint_test. - In this, we will install all the node dependencies and run two simple scripts for our test and lint.
- It will be running in a container, and we will be using the image provided by CircleCI.
- The line
node/install-packagescomes from the CircleCI node orb, and it will install all the node modules.
jobs:
  build_lint_test:
    docker:
      - image: circleci/node:latest
    steps:
      - checkout
      - node/install-packages
      - run:
          name: Run lint
          command: npm run lint
      - run:
          name: Run tests
          command: npm test
After that, we are going to write our second job.
- Here we will install the AWS CLI using the
aws-cliorb provided by CircleCI. - The line
aws-cli/setupcomes from theaws-cliorb only. - After that, we will run a command to push the code to our AWS S3 bucket.
This time, we will use an executor from the aws-cli orb, which will help us to set up sort of an environment to execute this job.
  deploy:
    executor: aws-cli/default
    steps:
      - checkout
      - aws-cli/setup
      - run:
          name: AWS Sync
          command: aws s3 sync . s3://node-circleci-demo
Note: replace "node-circleci-demo" in
s3://node-circleci-demowith your bucket name.
- After pushing the code to the S3 bucket, we will specify the workflow.
workflows:
  build_test_deploy:
    jobs:
      - build_lint_test
      - deploy:
          requires:
            - build_lint_test
Setting up AWS S3 Bucket 🪣
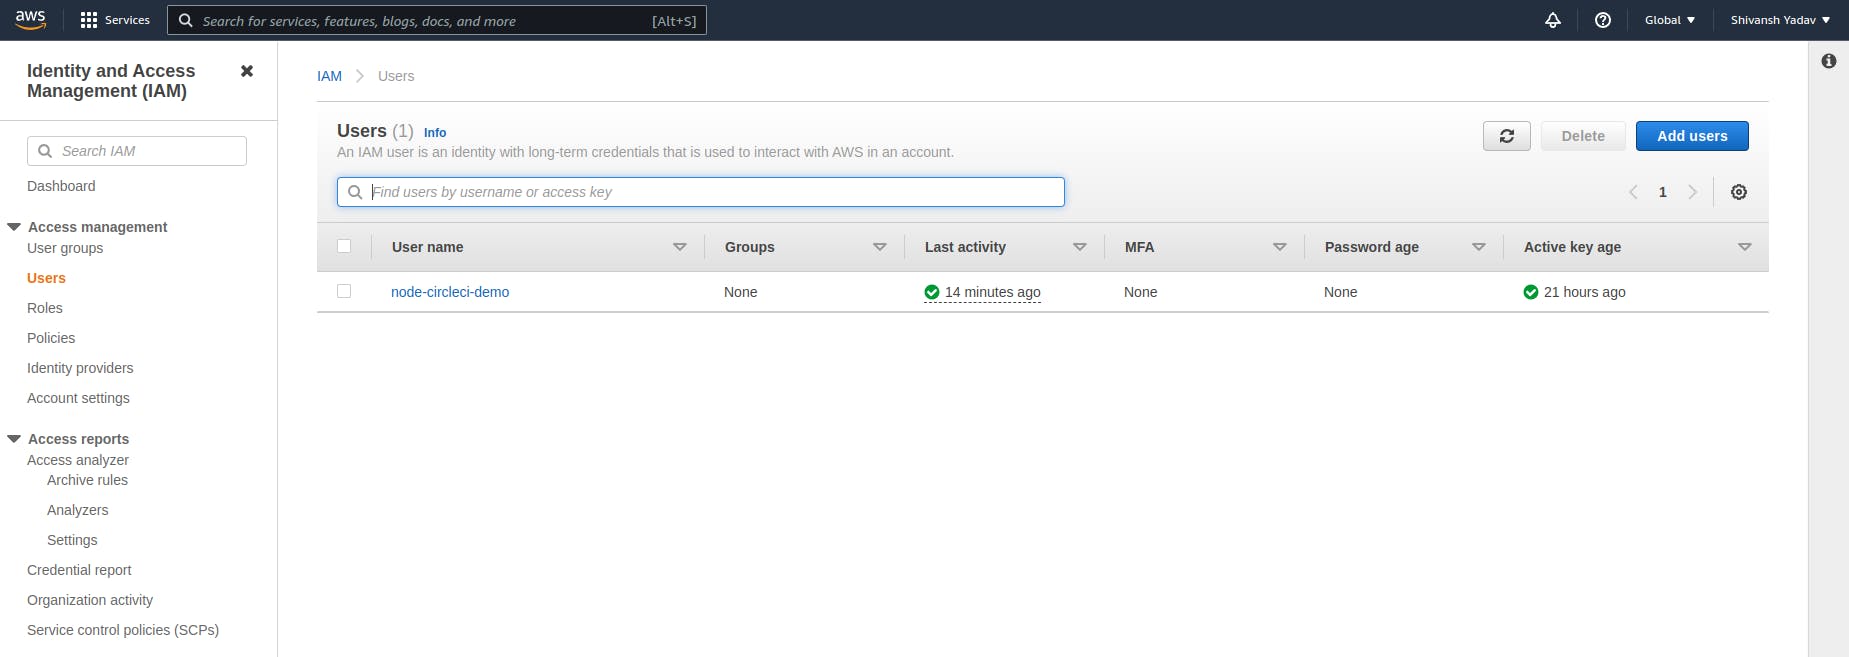
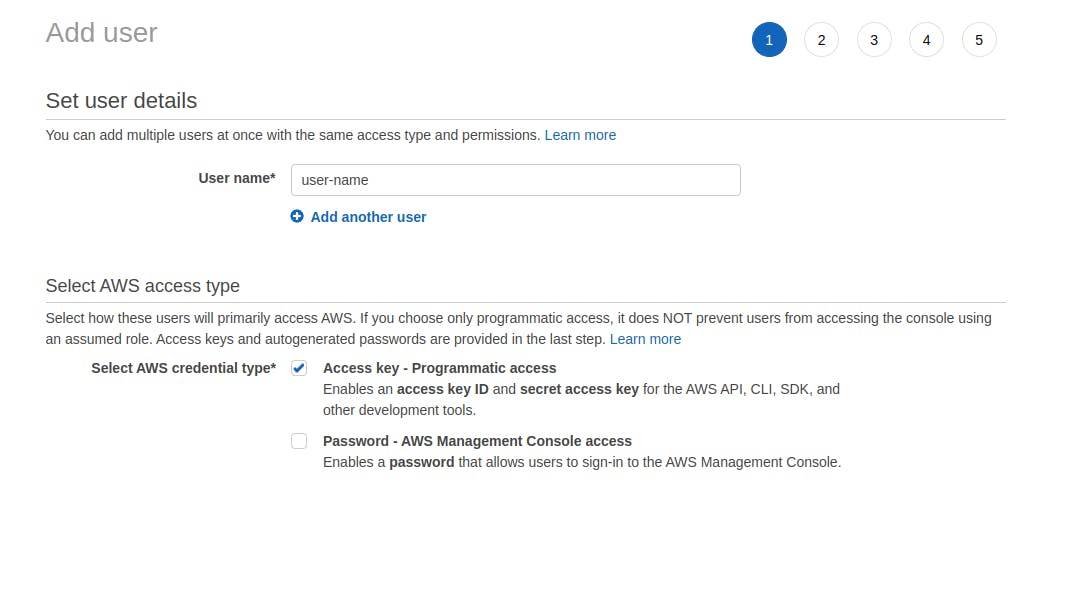
First, we need to have a user in Identity and Access Management (IAM), while creating a user you can enable the following:
- Access key - Programmatic access
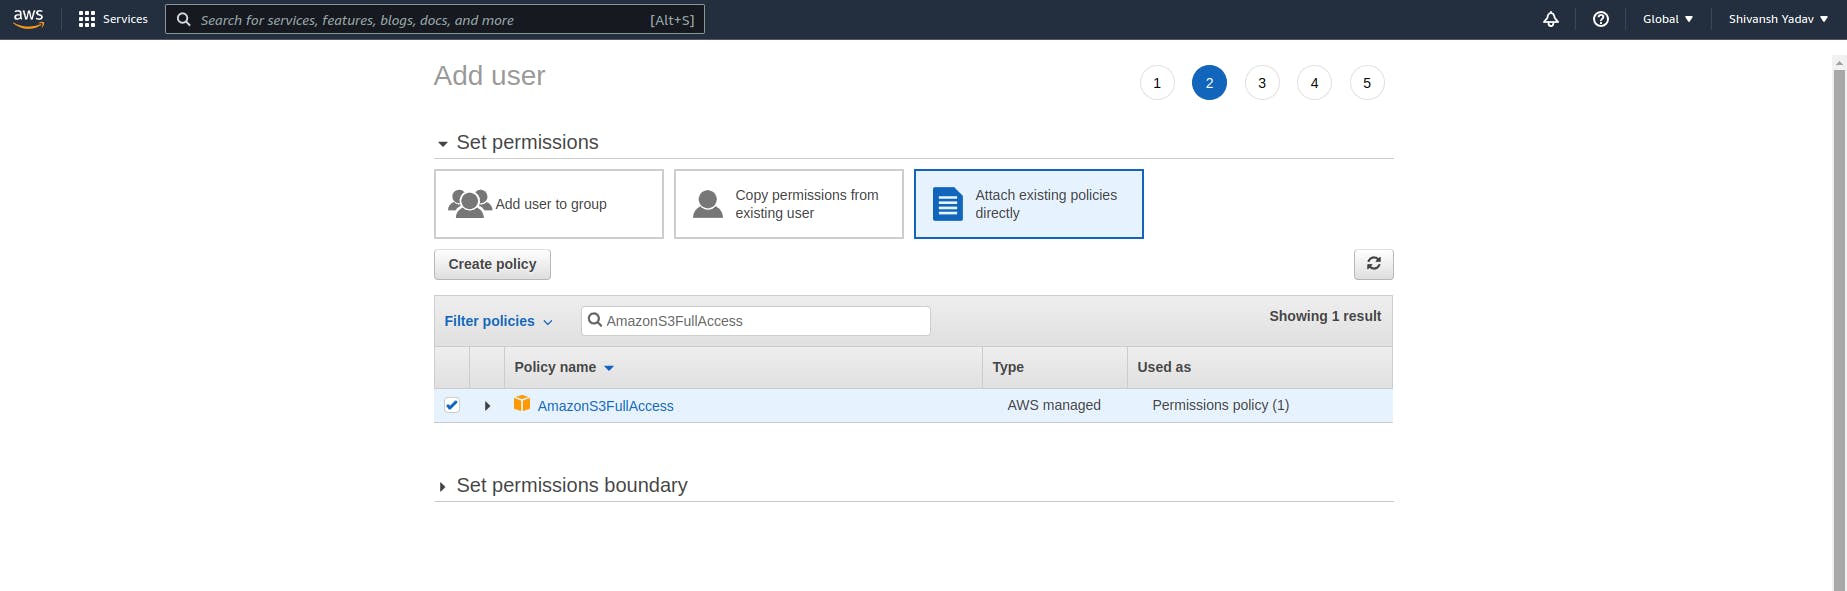
After that, select Attach existing policies directly, and add the following:
- AmazonS3FullAccess
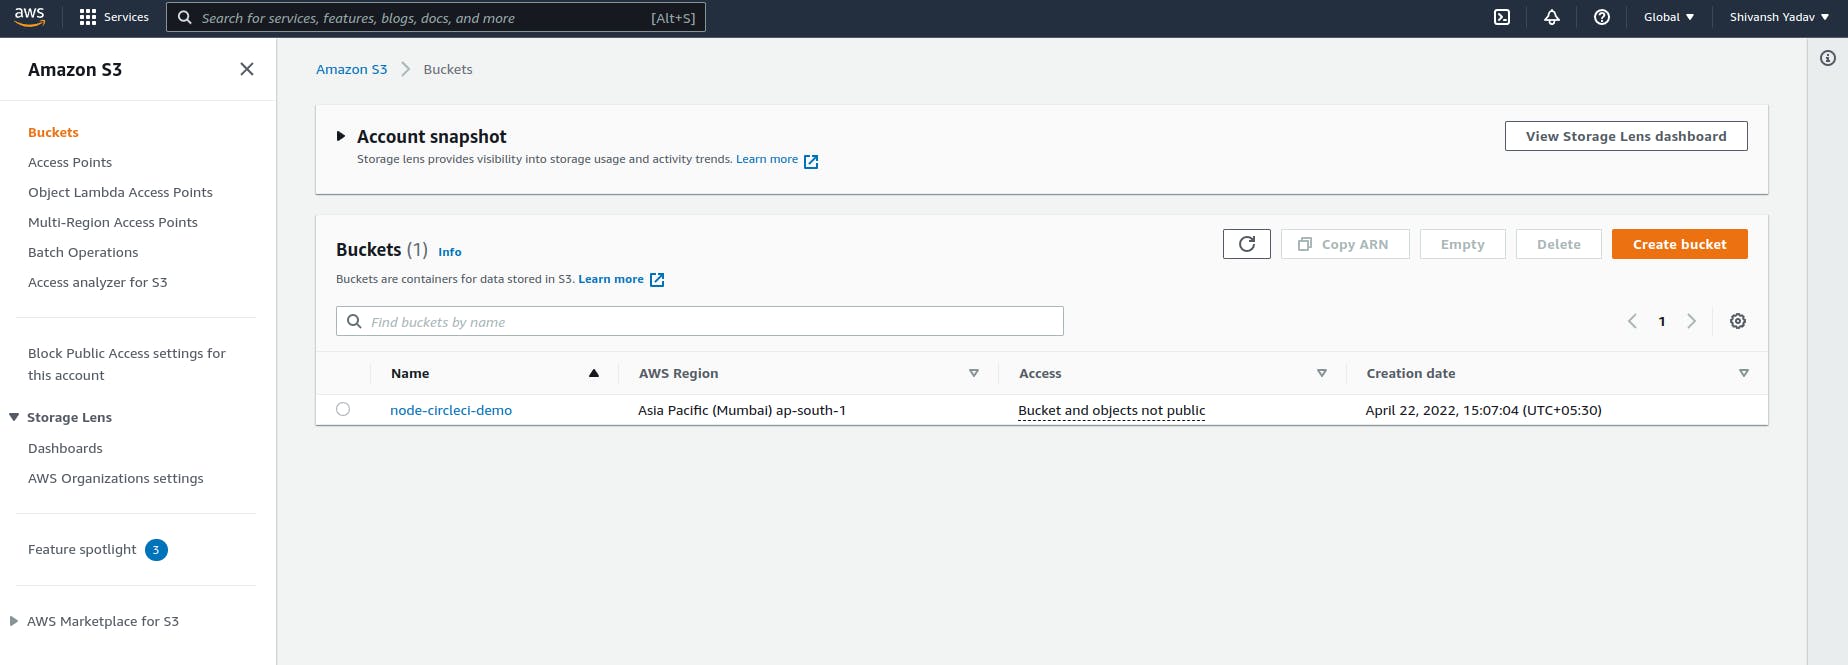
After creating the user, we need to create a bucket, go to your S3 console, and add a bucket.
- Name the bucket and select the region.
- Rest of the settings we can keep the default for now.

CircleCI Project Setup ⚫
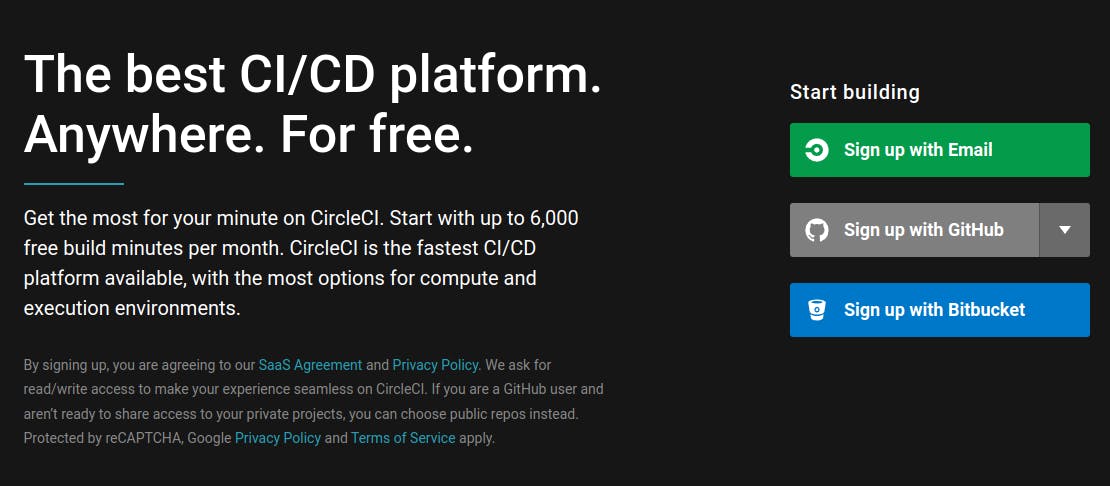
Login to CircleCI 🙋♂️
After setting up the project, we will log in to CircleCI. Signup/Login to CircleCI you will have 3 options to choose from.
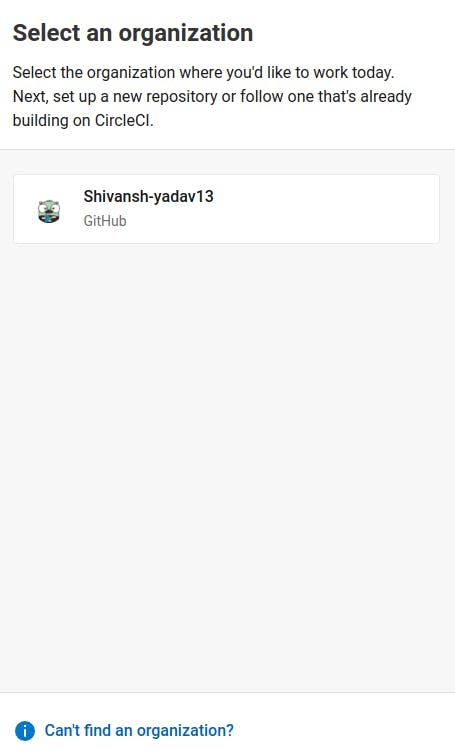
After Login/signup it will ask you to choose one organization, choose the one where you have access to your project repository.
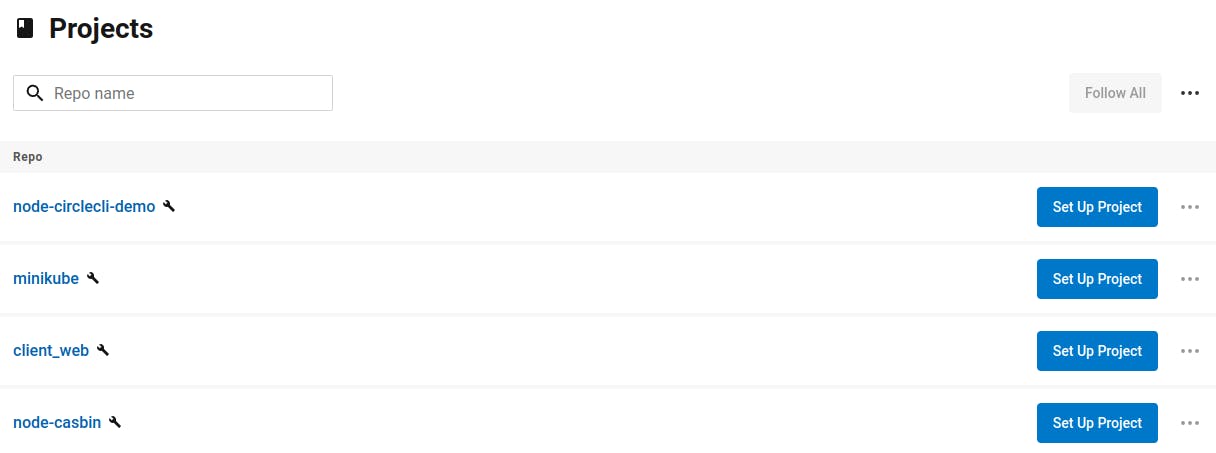
Setup project 💻 on CircleCI
After selecting the org, we will get a list of all the project repositories we have, we will select the one on which we want to set up CircleCI.
- Click on 'Set Up Project'.
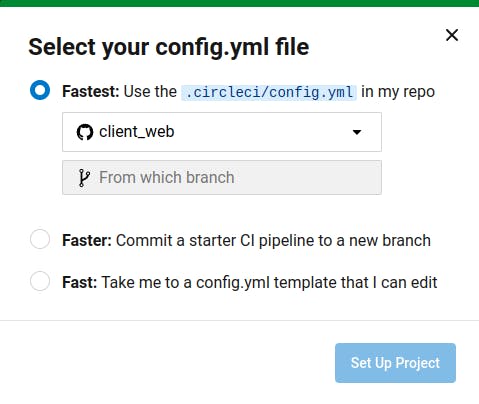
After that, it will ask you to select your config.yml file.
- We will select the first option since our project already contains the
.circlecifolder with aconfig.ymlfile.
Initially, it will fail the deployment to AWS S3 Bucket because it checks for some env variables which we haven't set yet.
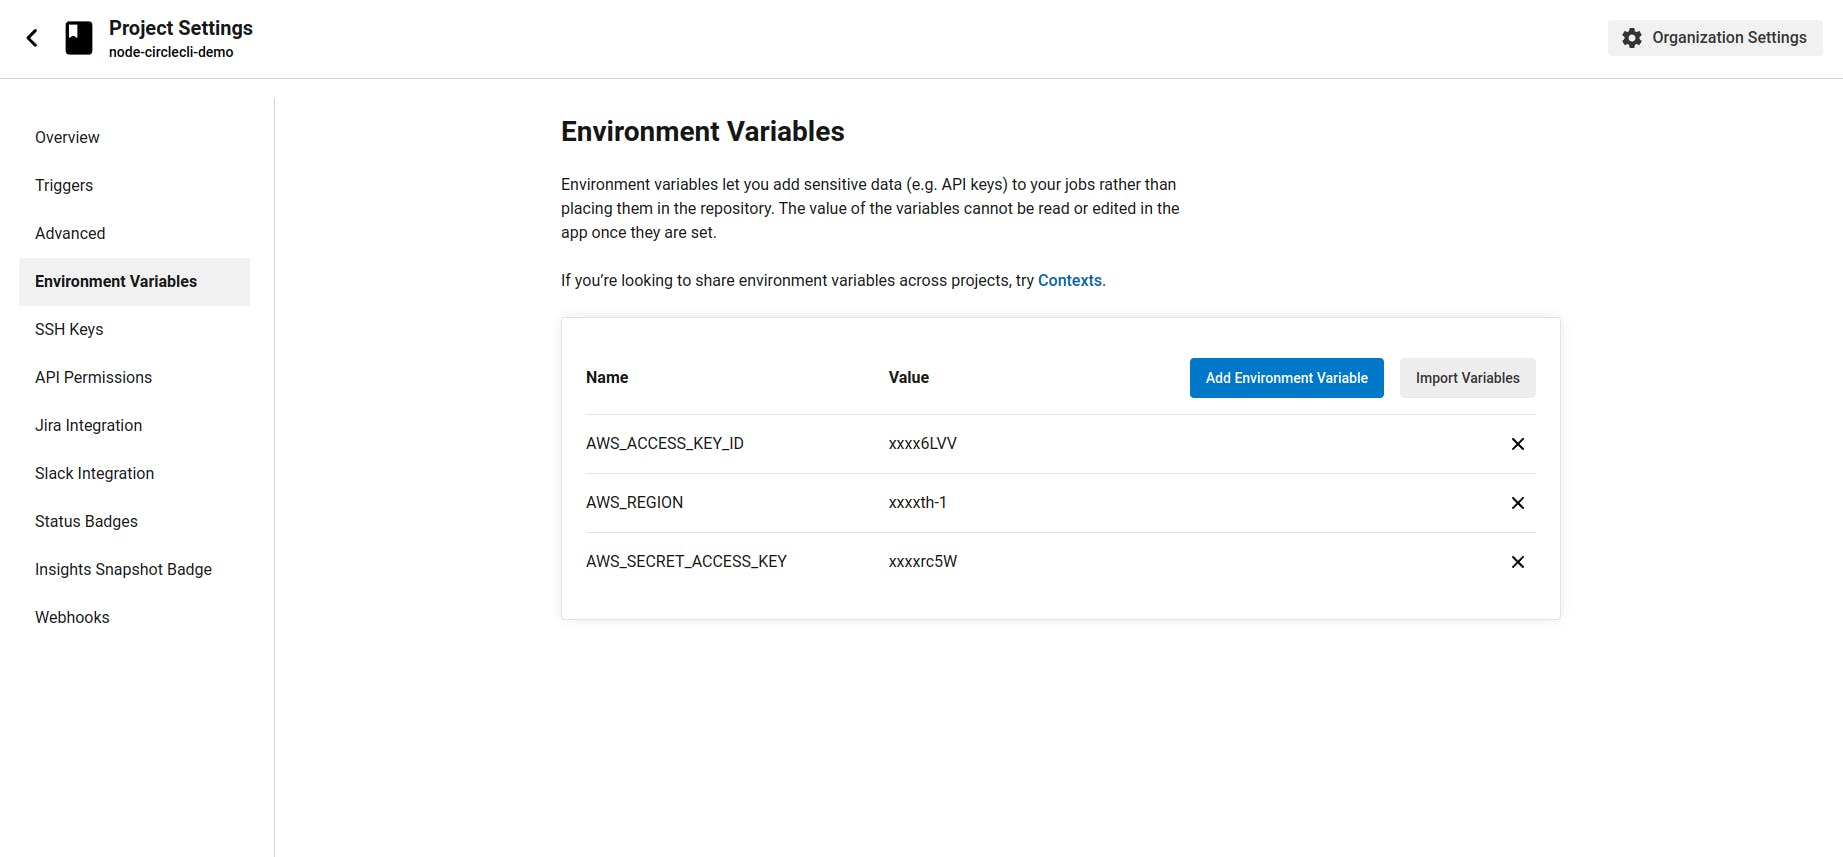
To deploy to AWS S3 using the aws-cli orb, we need to also set some env variables.
Add the following to the project setting of your CircleCI project.
- AWS_ACCESS_KEY_ID
- AWS_SECRET_ACCESS_KEY
- You can find the above two in the Security credentials tab of your IAM user.
- AWS_REGION
- Region of your S3 bucket, e.g:
ap-south-1.
- Region of your S3 bucket, e.g:
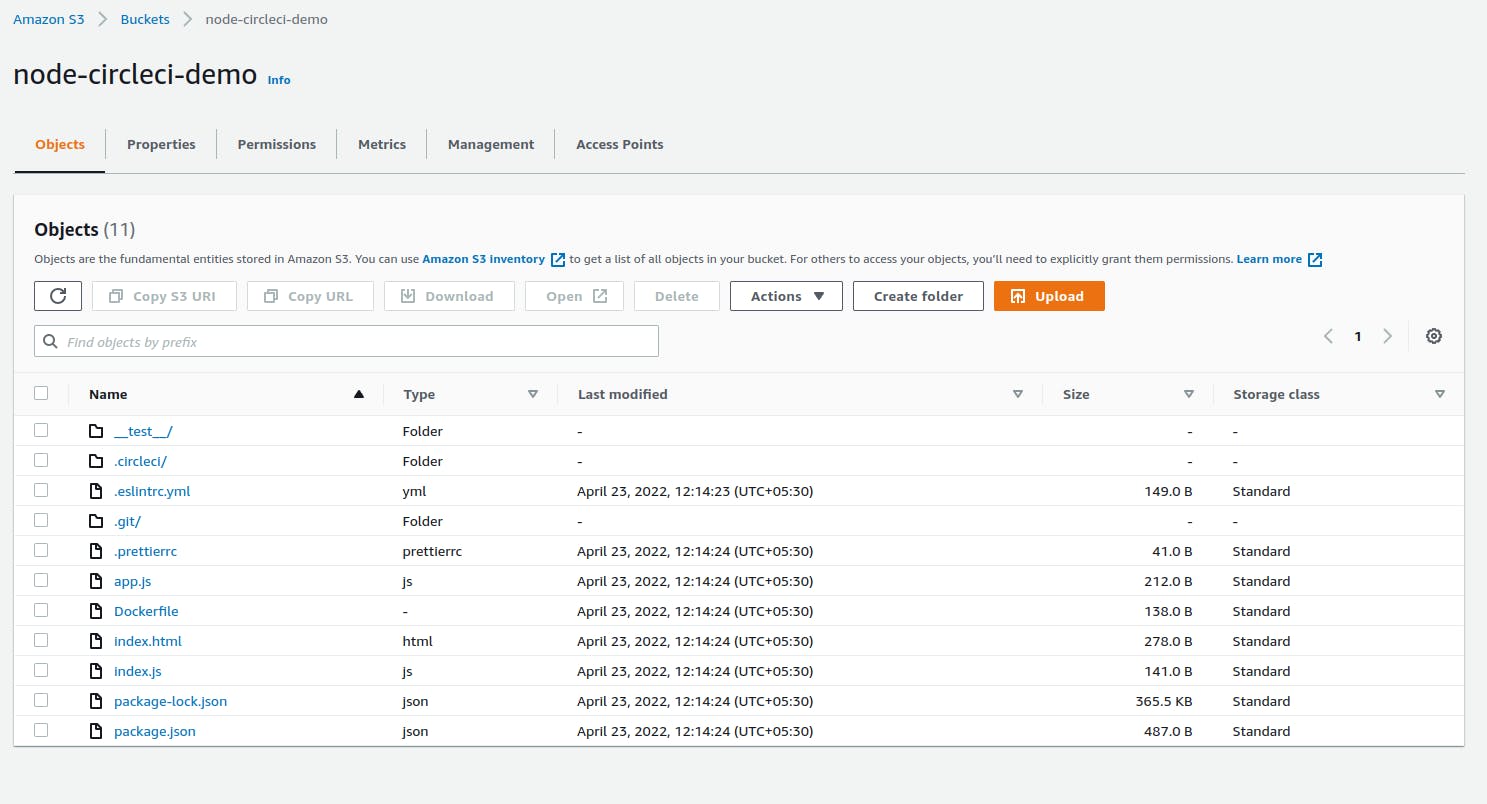
After setting up the environment variables we can re-run the jobs in CircleCI, after that, we will be able to see our project in the S3 Bucket.
Conclusion
Setting up CI/CD was an easy process using CircleCI, We can use CircleCI in all sorts of projects. Below are some useful links you can follow to learn more about CircleCI.
- circleci.com/docs/2.0/about-circleci
- circleci.com/docs/2.0/local-cli
- circleci.com/docs/2.0/sample-config
- circleci.com/developer/orbs
Thank you for reading the blog ❤️🎉