Dinosaur 🦕 Game 🎮 Using 📜 JavaScript! | Kaboom.Js 💥 Tutorial #2

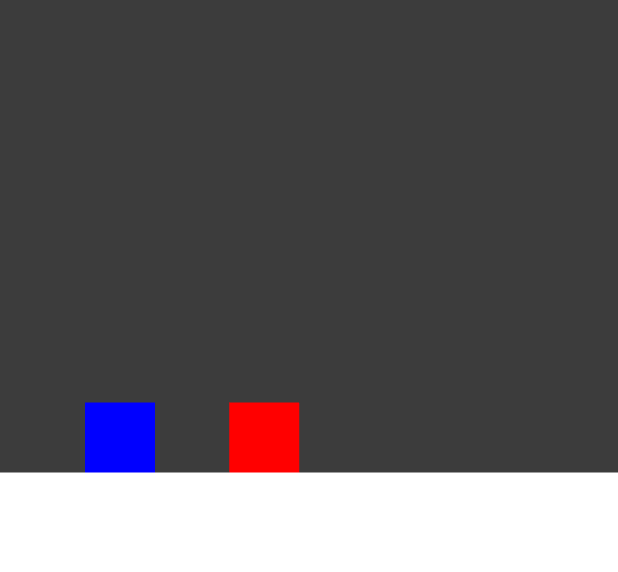
In this part, we will be creating something like -
So let's start building!!
Step 1:
Adding Objects, Shapes inside the canvas
To add any shape, object, or sprite inside the canvas the syntax is simple:-
const varName = add([
    pos(x, y),
    shape(width, height),       # In place of "shape" use -> "rect" or "circle"
    outline(size),
    color(r,b,g),
    "Object_name" # Tag / name of the object
    etc...
])
If you are using a tag inside the "add", then you don't need to store it inside a variable.
You can also use functions like height() & width() to get the height and width of the canvas respectively.
We will be adding 3 shapes inside the canvas one for our player, one for the obstacle, and 3rd one for the ground
Now, In order to make them land on the ground, we using the area() property
area() - Generates collider area from the shape and enables collision detection.
We will use the area() property on all three shapes we have.
We will also use the body() property on the player and the obstacle.
body() - Physical body that responds to gravity. Requires "area" and "pos" comp. This also makes the object "solid".
solid() - Make other objects cannot move pass. Requires "area" comp.
Now body property will also enable the solid() property, so we don't specify it on the player and the obstacle but we do specify it on the ground property because we are not using the body() property on the ground because we don't want to enable gravity on it.
Step 2:
Jump Feature
Now, to add the jump feature on the player we can use -
keyPress("space", () => {
        if (dino.pos.y > 400) {
            dino.jump(700)
        }
    })
You can use the object.pos.x or y to get the x and the y axis of the object.
Now, Why the if condition?, we are using the if condition because the player without the condition can also jump in the air which will make the game easier and the game will look like the flappy bird game.
So, to fix that we first find the position of the player when it is on the ground which for me was approx 400.
Since the height or y-axis increases as we go down the canvas so we use this condition that if the y-axis of the player is smaller than the y-axis when it was on the ground (means player is in the air) we won't allow the player to jump else, the player can jump.
Step 3:
Moving Obstacle
In order to move the obstacle towards the player, we can use the action() function which will help us to perform any action inside the game.
To move any object inside the game we can use the move(vecX, vecY) function.
action("Object", (Object) => {        # "Object"-> tag given to the obstacle
        Object.move(-150, 0)            # Move in negative(left) X direction.
    })
Step 4:
Detecting collision & displaying "Game Over"
In Kaboom we can create different Scenes inside a game.
To make a scene use -
scene("{Scene Name}", () => {
    # Put all the object, Keypress, actions you want to use in this scene
})
So, we create two scenes one for the game another one for losing the game.
scene("game", () => {
    # All objects, keypress, actions
})
To start a scene use go("scene-name").
Also, you need to go("game") initially to start the game.
We will create a simple "Game Over" Scene.
scene("gameover", () => {
    add([
        text("Game Over")
    ])

    onKeyPress("space", () => {
        go("game")
    })
})
We are using the "space" key to go back to the game scene.
Now, we to detect the collision of two objects.
-> Put the below in the "game" scene.
dino.collides("Object", () => {     #dino -> var name of the player object
        go("gameover")
    })
The End.
- If you were not able to follow any step -
- comment down or reach out to me on socials
- or Check out my video on this Video


